NSD Challenge- Circle Envelope
Circle Envelope
This is a lovely way to add a little somewhat secret place to your Flat Pack Time Capsule. After I had made one each for my grandchildren and had glued them in the booklet, I realised I could use them as a little hidie hole. So, I placed a picture on the bottom inside and then I also put in a handwritten note from me (their nan) to them, so when they open it up in five years time, they can all read what I wrote to them.
I started with an 18 by 18 cm piece of patterned paper and ruled it up as shown below. I measured and ruled a line at 5cm then 13cm. Which gives you a row of 5cm, 8cm and another 5cm. Then I turned it around to the side and made the same measurements and drawn lines. That then gives you an 8cm square in the center of your paper.
I used a compas at 4cm (half the square line in the centre). I placed to compas point on each corner and marked the center of each line of the square. Once my center point was found on the square lines, I then put my compas point on the center mark and drew a half circle from corner to corner all the way around the square. Then you cut the made shape out.
Showing template, cut shape and compas
When you have cut the shape out, you just fold along the bottom of each half circle and to keep it closed you fold one half circle on top of the last one and with the last half cirle you have one half of it overlapping the last circle and the other half of it underneath the next half circle.
The video below shows my process
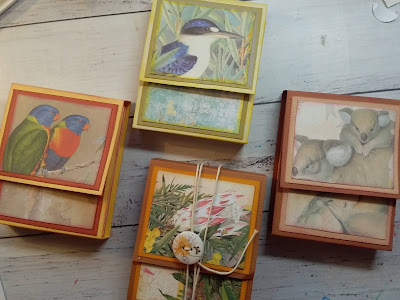
Here are some pictures of the ones I made for my grandchildren:
To decorate I used a half cirle in their favourite colours and glued it down on two of the flaps
I hope you enjoy making a circle envelope for your own Flat Pack Time Capsule and I look forward to seeing them in group.
Wendy xox


Comments
Post a Comment