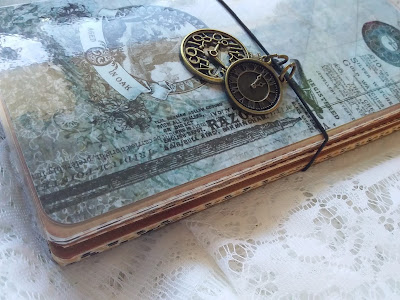
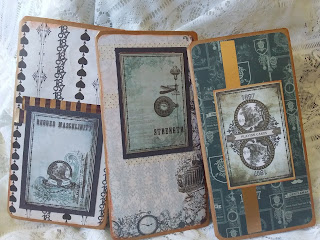
Gentlemans' Emporium Desk Organiser

Gentlemans' Emporium Desk Organiser Sometimes I feel it's very hard to create a project for the male in your life. But, this project of a desk organiser, I think I may have 'hit the nail on the head' and created a very practical and convenient way for a man to keep his little 'bits and pieces tidy on his desk, especially if he loves to read, as well. The storage book shaped boxes can be used individually or as a set. Stacked side by side or used singular and can hold pens, pencils and anything else that needs a place to sit on a desk. By using the Gentlemas' Emporium paper Collection, it has given them a little touch of elegance. What I used: *Gentlemans' Emporium Paper Collection *Recycled some thick cardboard *Double-sided tape and a wet glue *Scor Board and a cutting board * For the spine of the container (book shape) I chose to use the cut out images from the Gentlemans' Emporium Collection. After I cut my chosen image, ...