NSD Challenge- Spin Changing Photo Card
Spin Changing Photo Card
Hello Everyone,
This is the last of the project elements I have to show you to be added to your Flat Pack Time Capsule. Just remember these projects I have included in my booklets are all optional. You may like to do each and every one or you may have another paper project in mind that can be added. The choice is completely your, personalise it to your liking.
Okay, lets get started...
You will need to draw two circles. Mine measure 5cm and the other one 6cm (with a 5cm circle drawn in the center). Also a strip 7cm x 1cm and another 5.5cm x 1 1/2cm. the top circle needs to be 1cm smaller than the bottom circle.

I used the above measurements for the purpose of showing you my process but the ones I made for my booklet were slightly smaller in radius. 4cm and 5cm. I used the larger ize because I thought it would be easier to see the process.
When you have your circles drawn and cut, you make a line from the center point to the edge on the 5cm circle and make a line from the center point to the edge of the inner 5cm circle on the 6cm sized one. Where you have marked the lines this is where you will be cutting slits. The smaller circle is cut from the center straight to the edge and the larger circle is only cut from the center to the 5cm circle line. As shown below.

Then the smaller circle shape is slipped in the cut slit of the larger circle cut slit. It should fit in nice and snuggley. If you want to decorate the front of the circles with photos, I would suggest you do it before you put the smaller circle in the larger circles slit. And don't forget you will also need to make the same slits on the photos, that correspond with your original slits you have made.
Once decorated, decide on the back of your spinner and tape the 5.5cm x 1 1/2cm piece of cardboard as close as possible to the edge showing, like in the picture below. I have also placed some dimensional tape along the outer rim of the 6cm circle and I will be using this to adhere it to my booklet.

Then flip the circles over and glue the thin strip of cardboard as close to the showing edge of the 5cm circle. This is used as the tab to turn or spin the card. It may need a little bit of 'playing with' to make it spin smoothly but it is worth it in the end. Such a fun photo changing project.

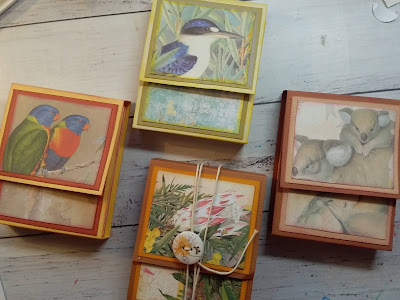
The pictures below show the ones I made for my grandchildren. I glued a photo or two to the front of the circles, so when you spin it around you see a different photo.


You can watch the full process in the video below
I hope you have enjoyed this months projects. I have certainly loved showing you my start to finish of making a F;at Pack Time Capsule with all it's little added components holding some precious photo memories of my grandchildren. Now, I we have to wait five years for them to open their packs up. I'm really going to be looking forward to that day.
If you try one of these Spin Changing Photo Cards be sure to leave a picture of it in Crafty Vera and Friends Facebook group and don't forget at the end of the month I will be randomly drawing a winner to receive The Flat Pack Time Capsule I showed making throughout the month as well as a Happy Mail package with it.
You Have a Great Day!
Wendy xox


Comments
Post a Comment